
Introduction
In this post I will show you how I built this blog. I will go through the steps of setting up the blog, adding a theme, writing a post and deploying it to vercel.
Used Technologies
- Hugo - static site generator
- Hugo Theme Stack - theme used for this blog
- Vercel - hosting/deployment
Building the blog
Install Hugo
I am using Ubuntu, so maybe there are commands that won’t fully work on your distro, but you can reference the official documentation anytime here: Hugo Docs.
- get the latest version of hugo from here
wget https://github.com/gohugoio/hugo/releases/download/v0.121.2/hugo_extended_0.121.2_linux-amd64.tar.gz
- extract the tar.gz file
tar -xzf hugo_extended_0.121.2_Linux-64bit.tar.gz
- move the hugo binary to
/usr/local/bin
sudo mv hugo /usr/local/bin
- delete unnecessary files
rm hugo_extended_0.121.2_Linux-64bit.tar.gz LICENSE README.md
- check if hugo is installed correctly
hugo version
- output should look like this:
hugo v0.121.2-6d5b44305eaa9d0a157946492a6f319da38de154+extended linux/amd64 BuildDate=2024-01-05T12:21:15Z VendorInfo=gohugoio
Setup file structure
- make a new directory for your blog
mkdir blog
cd blog
- initialize hugo
hugo new site .
- clone the theme repo into the themes folder
cd themes
git clone https://github.com/CaiJimmy/hugo-theme-stack.git
cd ..
- copy the
config.yamlfile and some example posts from the theme repo into the root folder and remove thehugo.tomlfile
cp themes/hugo-theme-stack/exampleSite/config.yaml .
cp -r themes/hugo-theme-stack/exampleSite/content/ content/
rm hugo.toml
Running and modifying your blog
now you can change the params of the config file to your liking, for example the title of the blog
run the server to see if everything works
hugo server
open your browser and go to http://localhost:1313 to see your blog
if you want to add a new post, you can just copy a example post and change the content
Deploying to vercel
How to deploy your blog to vercel, so that it is live on the internet
Main steps
- create a new project on vercel and connect it to your github repo
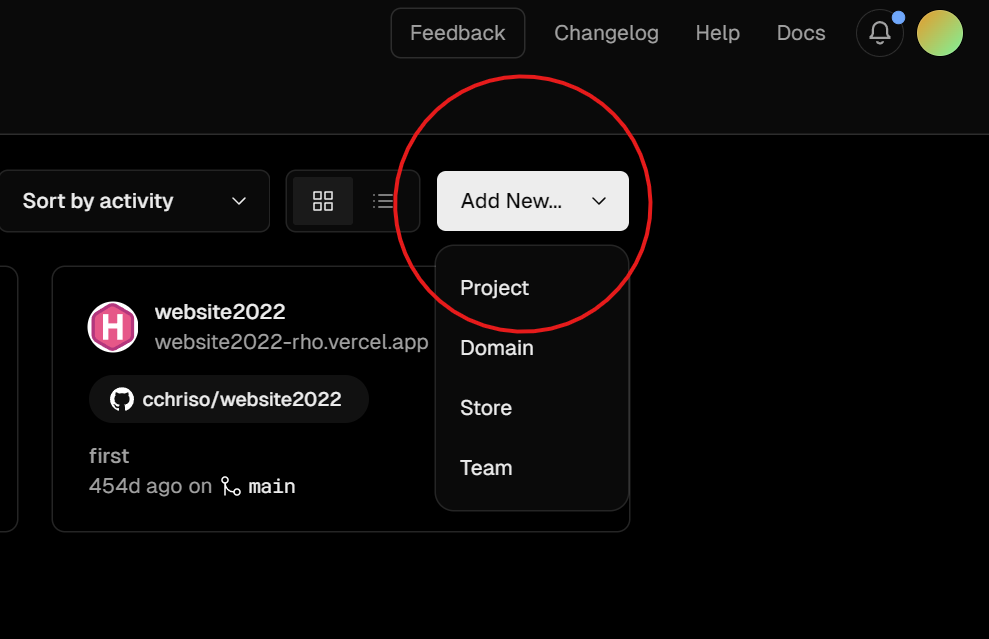
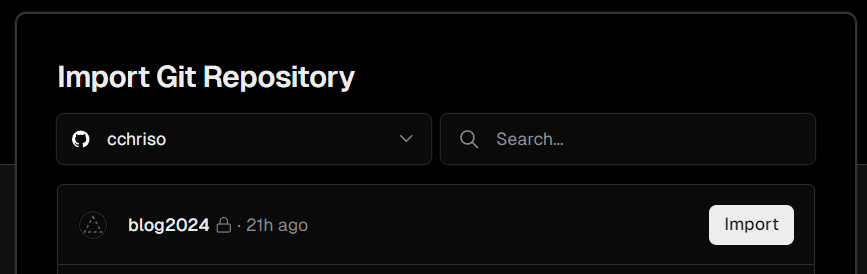
- select your github repo where you saved the files of your blog
- set the framework preset to
Hugo - override the following build command and output directory of the vercel project settings, and set the hugo version to the one you installed as an environment variable
build command:
amazon-linux-extras install golang1.11 && hugo --gc --minify
output directory: public
env variable:
HUGO_VERSION 0.121.2
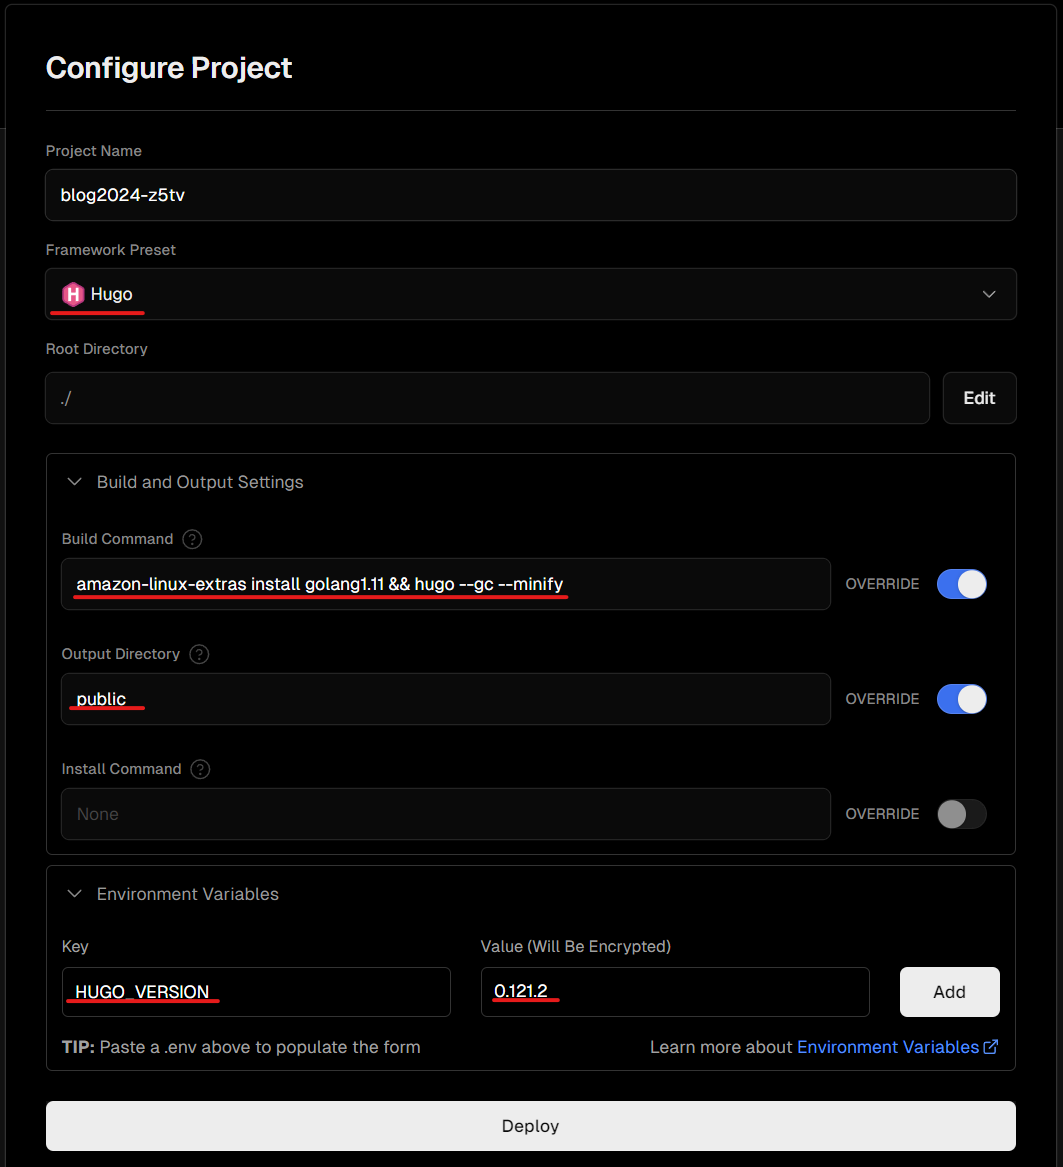
also don’t forget to name your project and set the root directory to where your blog files are located in the git repo
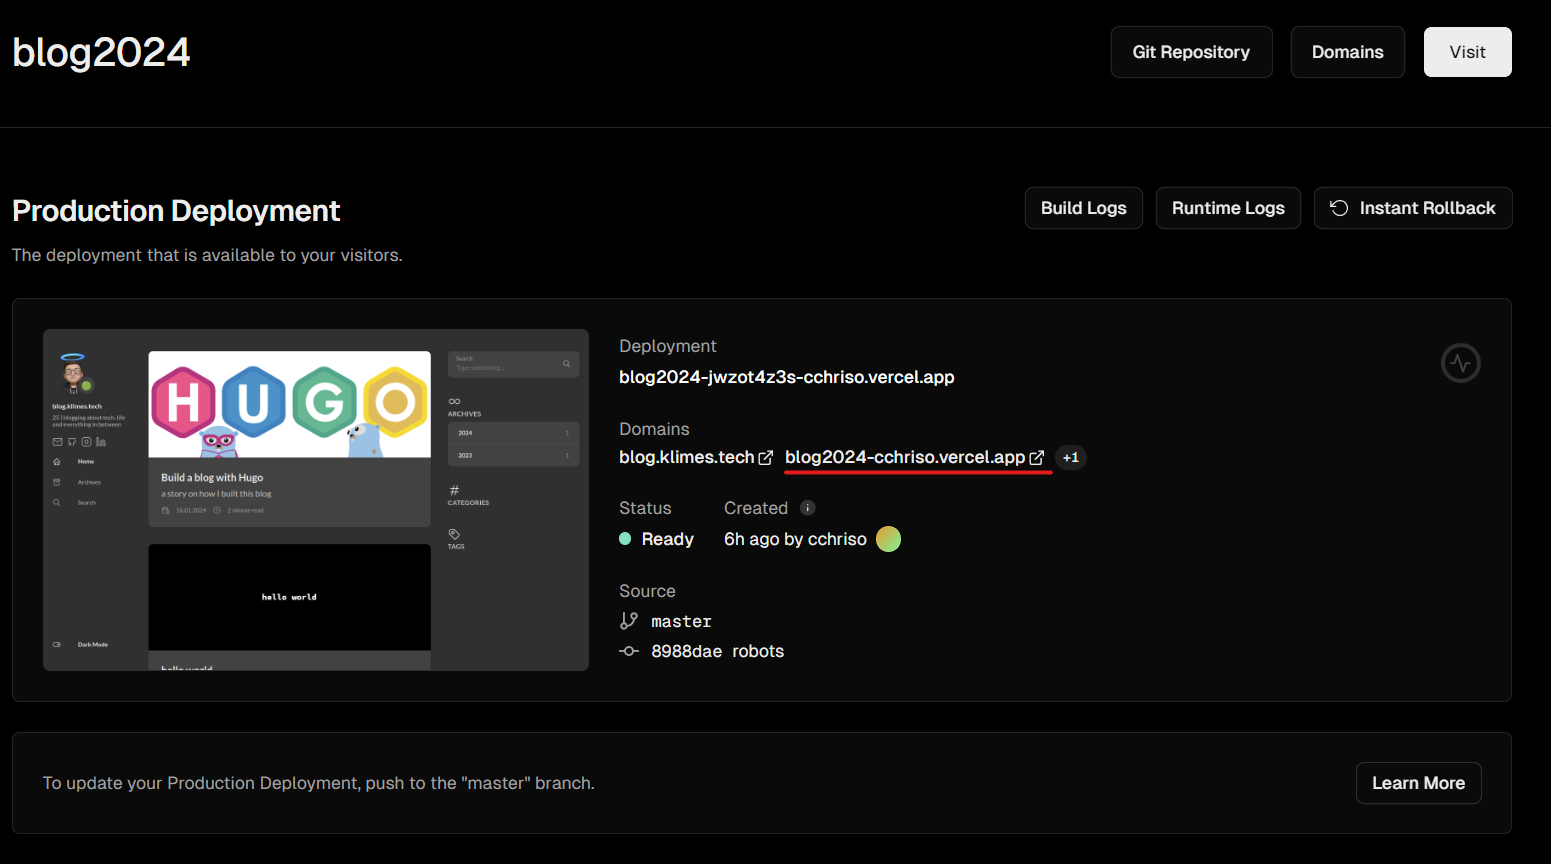
- now you click
Deployand after a minute or so your blog is published to vercel:
if you click on the link you will see your blog live on the internet
Add custom domain
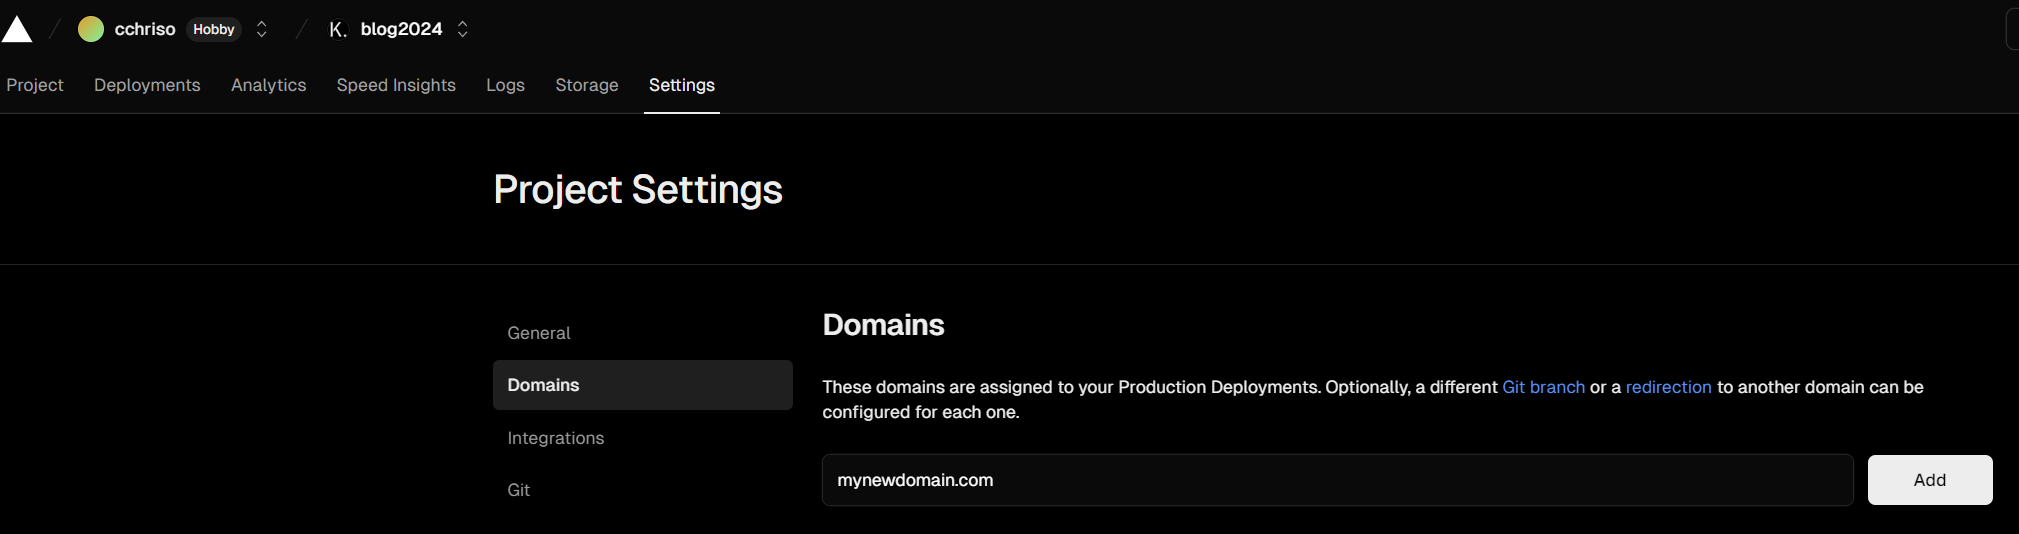
adding a custom domain to your blog is pretty easy, just go to the project settings and click on Domains and add your domain
just follow the instructions from vercel and add the accoriding CNAME record to your DNS provider (vercel will tell you what to add)
Good to knows
Add robots.txt for SEO
for SEO purposes you should add a robots.txt file to your blog, so that search engines can crawl your site
- create a robots.txt file in the layouts folder
touch layouts/robots.txt
- add the following content to the file, for more infos on
robots.txtcheck here
User-agent: *
Allow: /

Sitemap: https://yourdomain.com/sitemap.xml
- add the following line to the
config.yamlfile
enableRobotsTXT: true
- you can check if it works by going to
www.yourdomain.com/robots.txtin your browser